The Java virtual machine fatal exception error pops up for some users when they try to launch software built on Java. Minecraft users are no stranger to this issue.
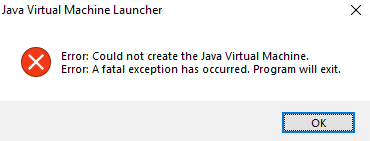
The full error message states: Could not create the Java Virtual Machine. Error: A fatal exception has occurred.
Consequently, the Java program doesn’t run. These are a few potential fixes for the Java Virtual Machine fatal error.
If Java is installed correctly on your computer, you should never have any problem running Java-based applications or games.
However, if there’s something wrong with your setup, you may see the error, “Could not create the Java Virtual Machine.” This error means that the Java installation on your computer can’t launch the virtual sandbox (virtual machine) within which it would typically launch the Java app.
1. Add a new system variable for Java
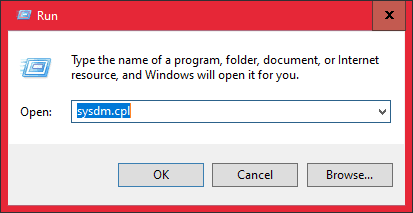
1. Right-click on the Start menu and select Run from the menu list. Type sysdm.cpl in the search box and click the OK button.
2. Go to the Advanced tab and select Environment Variables at the bottom.

3. Under the System variables section, click on the New button.
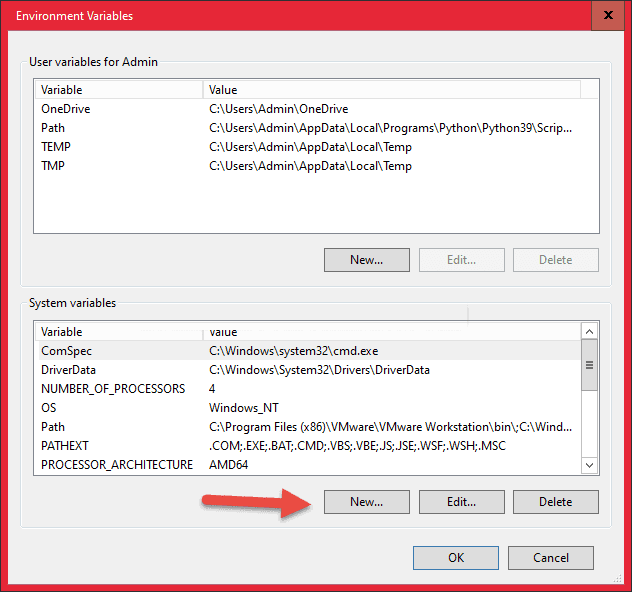
4. Then you set the following:
- Variable name: you enter JAVA_OPTIONS
- Variable value: you enter is –Xmx512M to determine the maximum amount of RAM that Minecraft can use, in this example I let it be 512MB. You can change it to –Xmx1024M or –Xmx2048M.

5. Now click on the OK button to apply the changes.
Video:
2. Run the program as an administrator1. Press the Windows + S key combination to open Windows Search then enter the search keyword Java. Right-click the result it finds, then click Open file location to access the Java installation directory.
2. Next, right-click the java.exe file and select Properties.
3. You switch to the Compatibility tab then you tick the Run this program as an administrator section.
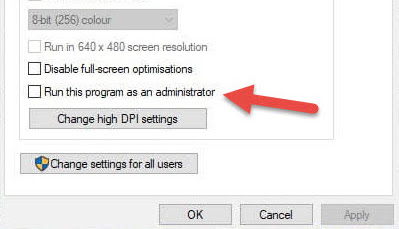
4. Finally click Apply and OK to finish.
3. Uninstall & Reinstall the Java application
You can reinstall the Java JRE application. Before we go that route, though, it makes a lot of sense to uninstall the program first.
1. Do this by pressing Windows key + I to activate the Settings menu,
2. Then go to Applications > Apps & Features.
3. Scroll down until you come across a Java program, then click the three-dotted button and remember to select Uninstall to remove it.
Regarding reinstalling the application, you must visit the official Jave Runtime Environment page and download it for your Windows 11 computer. Once done, install the tool, then restart your computer. From there, go ahead and check if Failed to Create Java Virtual Machine is still visible.
That's it. Hopefully, one of these solutions will work for you!


No comments:
Post a Comment