Widgets were previously available in Windows Vista and Windows 7 under the name Gadgets. Microsoft then made it unavailable on Windows 8 and all Windows OS that came after. But now, they’re coming back for another tour of duty in Windows 11.
So, what makes Windows 11’s Widgets different from its previous iterations? First, it addressed security concerns that got the previous Gadgets booted in the first place. This new version of Widgets also has all your widgets in their own menu on your Taskbar. On Vista and Windows 7, Widgets were displayed on the right side of your desktop.

If you are unable to add or remove widgets in Windows 11 Widgets panel, here are some tips and tricks to get rid of this problem. Although it is not a common issue, you may get this problem on your computer while trying to click the Add widgets button to add a new widget.
How to open Windows 11’s Widgets
1. Open the Windows Settings by pressing Windows Key + I.
2. Click on the Personalization section.
3. Click on the Taskbar tab on the right side.
4. Under Taskbar items, turn the toggle switch On or Off to Add or Remove the Widgets button on your Windows 11 device.

1. First, either click on the Widgets icon in the Taskbar or press WINDOWS + W to launch the Widgets.

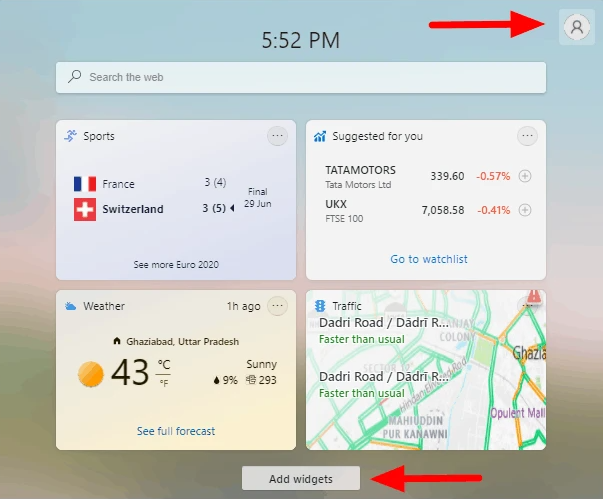
2. Scroll down to the end of the widgets and click Add widgets.

How to Remove widgets on Windows 11
1. Click the Widgets button on the taskbar to open the Widgets panel.
2. Click the more options button at the top right of the widget you want to remove.
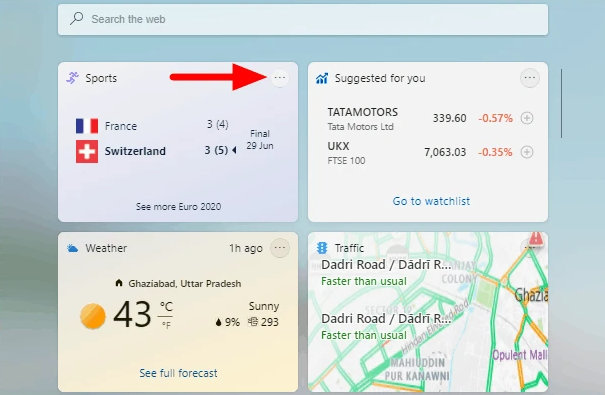
3. Click Remove widget in the menu.

4. The widget will be removed.
Note: Widgets are tied to apps installed on Windows 11. Removing a widget will not uninstall it. If you want to uninstall a widget, find out which app added it, and uninstall the app. If you do not want to uninstall the app, you’re going to have to keep the widget as well.
How to Customize Widgets in Windows 11
Widgets on Windows 11 can be customized according to your requirements and show what you want to see. Let's see how you can customize a widget. We'll take a few examples to get you familiar with the concept.
1. To customize a widget, click on the three dots in the upper right corner of the widget and select Customize Widget from the drop-down menu.

2. When you customize the sports widget, it will ask you to search for a team or a league to track scores. Search for it in the Search Box, select it, then click Done at the bottom to save the changes.

3. When you customize the Weather widget, you will be asked to search for a location/city or let Windows automatically detect it and select Units for the temperature. Once done, click Save at the bottom.

4. When you customize the Traffic widget, you have the option to automatically detect your location specifying one. If you select the checkbox for Specify a default location, search for and add a location, then click Save at the bottom.

Other widgets also provide customizations that match the widget's name. Try them once and you will understand it.
How to Resize Widgets in Windows 11
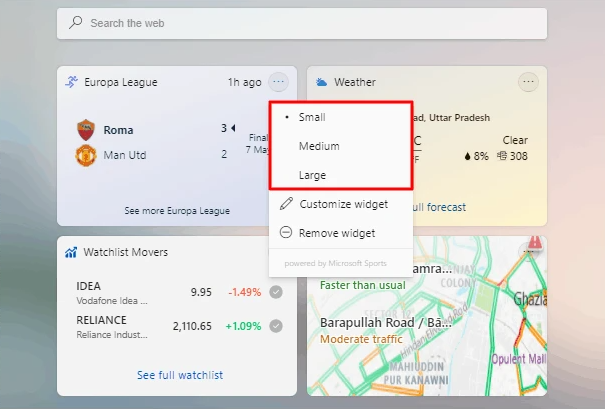
When it comes to resizing, Windows 11 gives you three size options, Small, Medium or Large. However, resizing only affects the length of the widget cell, not its width. This can be interpreted as a drawback by many.
1. To change the size of the widget, first click the three dots in the upper right corner of the widget.

2. The first three options in the menu are to customize the size of the widget, select the desired option. The current size will have a dot before it.
Rearrange Widgets in Windows 11
You can easily rearrange the widgets and place the ones you use frequently on top or as you like.
1. To rearrange the widgets, hover the pointer over any widget and the pointer will change to an open empty hand. Now hold and drag the widget to the required position. While dragging, the pointer changes to a closed white hand.

2. After you have moved the widget to the required position, release the mouse button. Other widgets will also be rearranged accordingly.

You are now well versed with the concept of Widgets on Windows 11 and the various options and customizations available. Explore them all and make the most of them. It will definitely enhance your Windows experience.


No comments:
Post a Comment