To know the cause of high CPU usage, when you open Task Manager and see a service called .NET Runtime Optimization Service, consuming high CPU resources, what should you do?
With that said, do you have an idea about this service? Well, if you don't know anything about it and are just looking for a fix, don't worry. In this article, we will discuss what .NET framework Error is, what causes it, and 5 best ways to fix .NET Runtime Optimization error.

What is the .NET Runtime Optimization Service?
Called Mscorsvw.exe, the .NET Runtime Optimization Service, is used to optimize the system to launch applications quickly. In general, this process does not consume too much memory. But if the optimization takes longer, then it can cause high CPU usage. Below is a list of common reasons you may encounter. High CPU usage .NET runtime optimization service on Windows 10.
Solution 1. Optimizing the .NET Runtime Service
As explained above when the service is running slow, you face .NET Runtime Optimization Service High CPU usage on Windows 10. To speed up the process, we need to run the following commands:
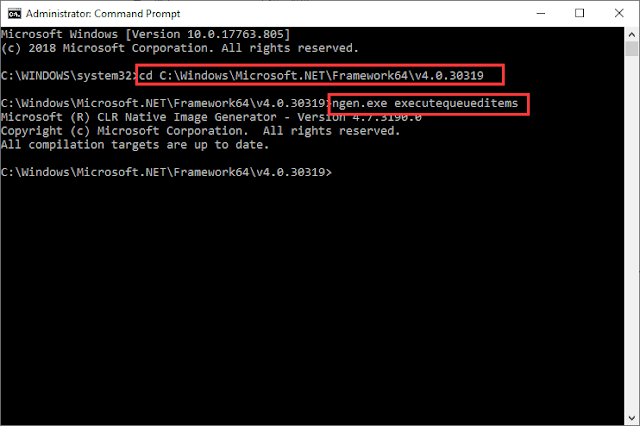
1. In the Windows search bar, type Command Prompt. Right-click Command Prompt and select Run as administrator

2. Here enter the following commands:
- For 32-bit OS: cd C:\Windows\Microsoft.NET\Framework\v4.0.30319
- For 64-bit OS: cd C:\Windows\Microsoft.NET\Framework64\v4.0.30319
Note: The drive letter C represents the drive on which the operating system is installed. If you have it installed on some other drive, please change it.
3. Next enter: ngen.exe executequeueditems. Then press Enter
5. Exit the command prompt and check if the High CPU Usage is back to normal.
This is useful because the commands instruct the .NET service to run quickly using all available cores.
Video:

Solution 4. Restart the Service
High CPU usage caused by mscorsvw.exe can be fixed by restarting the service.
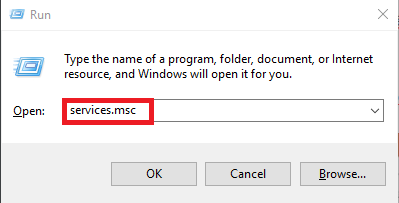
1. Press Windows Key + R. Type services.msc and click OK
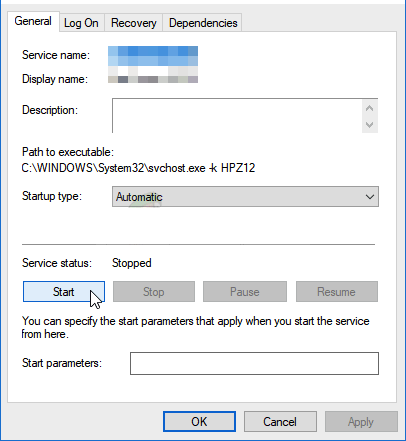
3. Locate the NVIDIA Telemetry Container service on the list, right-click on it and select Properties from the context menu which appears.
4. Click the downward arrow next to Startup Type and select Automatic > Apply > ok
Now go to Task Manager you will no longer see High CPU usage due to .NET Runtime service.
Now, with the older Windows version, you might get an "Error 1079".
In this case, get back to the property window and proceed to the Log On tab. There, you'll need to press the Browse… button and under the "Enter the object name to select" enter your account's name. Then, press Check Names and wait until the name is available. Press OK, type in the password if prompted, and after that repeat Step 4

Solution 5. Perform a Clean Boot
To perform this task follow the steps below:
1. Press Windows Key + R. Type msconfig and click OK

2. Proceed to the Services tab. Tick the Hide all Microsoft services checkbox. That will leave only third-party services on the list. Disable all of them by pressing Disable All.
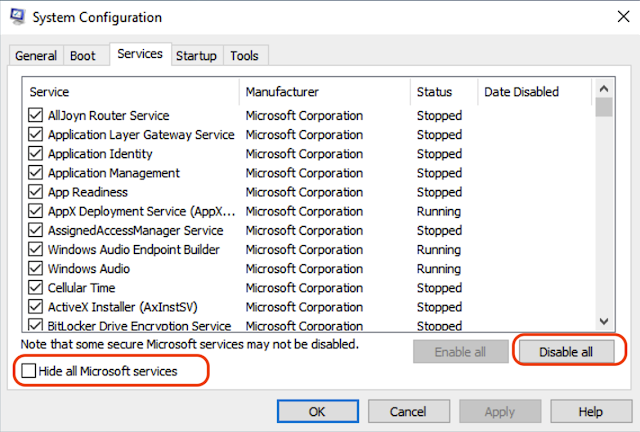
3. You will now be prompted to restart or do it later. Choose Restart Later.
4. Right-click the taskbar and click Task Manager.
5. Launch msconfig.exe again, proceed to the Startup tab and select Open Task Manager.
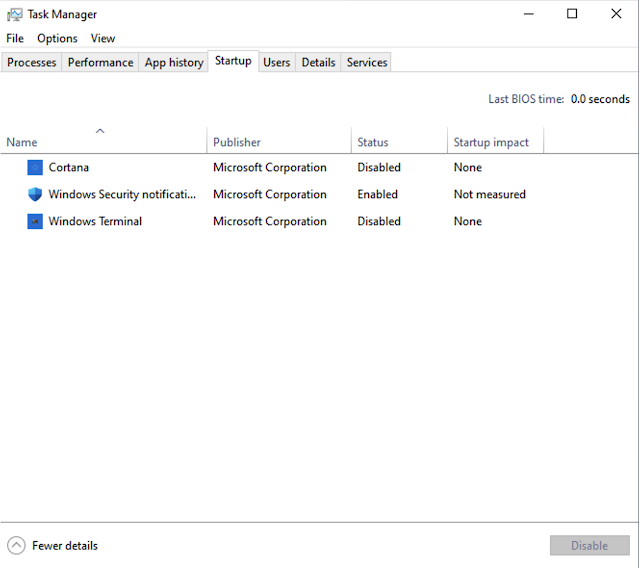
6. In the Task Manager, find the apps labeled as having "high impact" in the Startup Impact column and disable them via a right-click menu.
7. Reboot. With these settings, it’s going to be a clean boot mode. If the problem is gone, you can enable the startup tasks one by one to be sure which service is exactly guilty of draining your CPU power. If you find it, you can turn on the third-party services you disabled during Step 2 all at once. If not, turn them on one by one to find the CPU-abusing service among them.
Once you find it, take an appropriate action: remove, update, replace it with an alternate software or simply keep it disabled.
This should help fix the problem.


No comments:
Post a Comment