MS Word provides the feature to add Envelopes directly to Word Document and it is ready to print with just one click. It also provides Label feature, in which we can provide the address/information we want to get on the label, choose its quantity and good to print with just one click. The detailed usage and steps with Envelopes and Labels examples are as follows:

Envelopes
Envelopes are used traditionally everywhere. It is a simple mode of communication between the sender and the receiver for e.g., Invitations, Congratulatory messages, etc.
1. Go to the Mailings bar and select the Envelopes bar under the Create bar.

2. A dialog box will appear.

3. Provide the details such as the Delivery address, Return address, etc., and then click on the Add to Document button below.
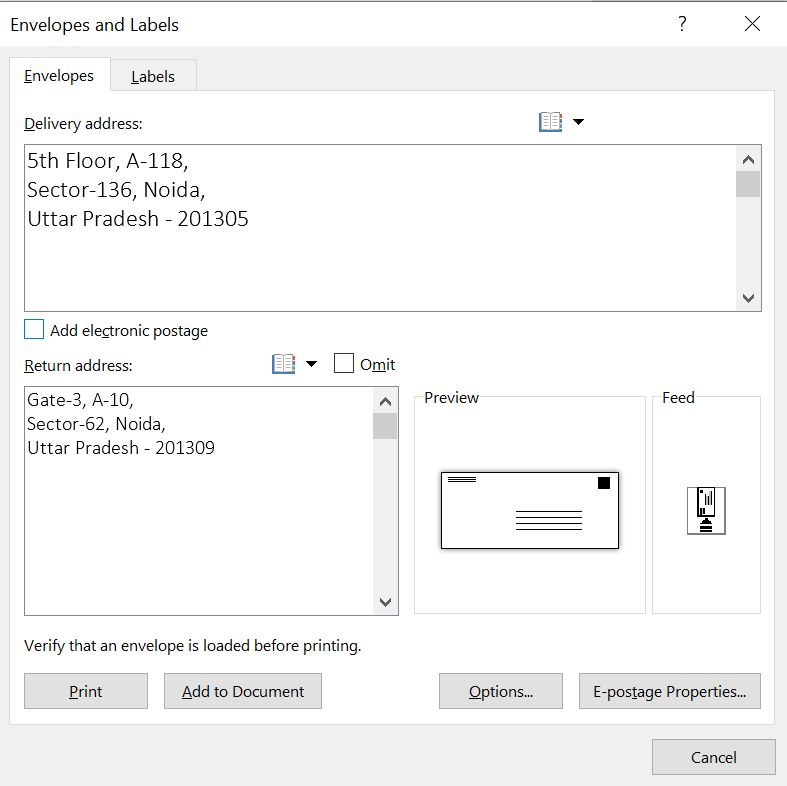
4. An Envelope will get inserted into the MS Word document.

Labels
Labels refer to the information or Address (in particular) we want to get displayed on products, banners, etc. We can also set the quantity of the labels we want and can print them instantly.
1. Go to the Mailings bar and select the Labels option under the Create bar.

2. A dialog box will appear.

3. Provide the details of the Address and select the options button below.
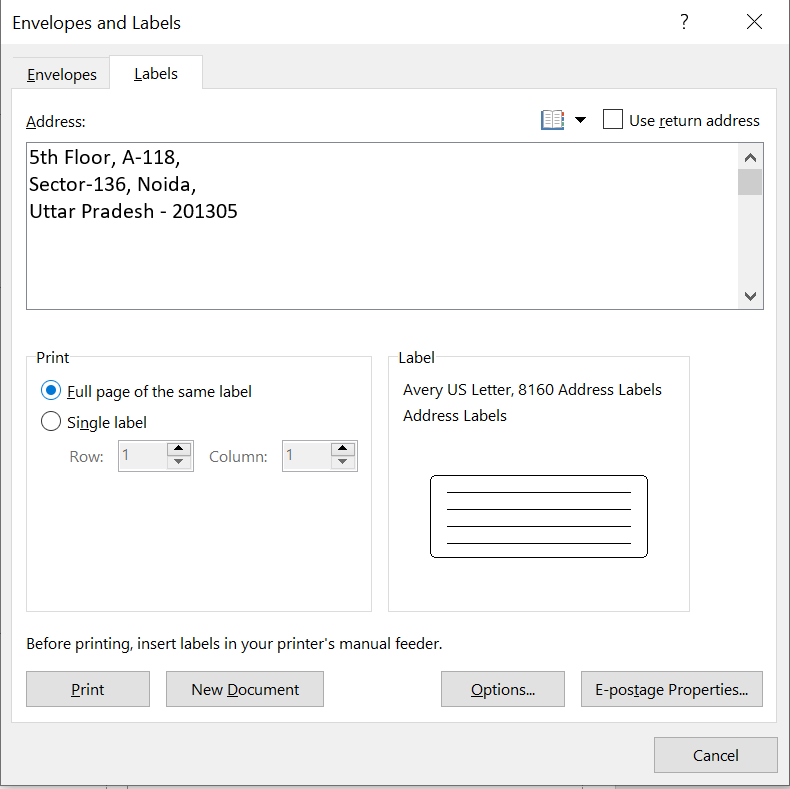
4. Another dialog box will appear then Provide the Label information such as Label vendors, and the Product number, and then press the OK button.

5. Labels will get inserted into the MS Word document.


No comments:
Post a Comment