Did you know that when you take a photo with the camera app, some very important details are captured? These details include your location, IP address, phone model number, and more. That information is called Metadata and it can be deleted easily using your phone or computer. If you are going to share these images with others or on social media, it is better for you to delete these details as they may cause a privacy violation. This guide will show you how to remove location data from your photos on Windows 10/11.

How to Remove Location Data From Photos on Windows 10
Maybe you've already transferred your photos from your phone to your PC or laptop without realizing they still had location data. Removing locations data directly on your phone isn't the only way; you can still do it directly on your Windows PC before sharing them online or with someone.
The process is just as simple to do on Windows as it is on Android devices.
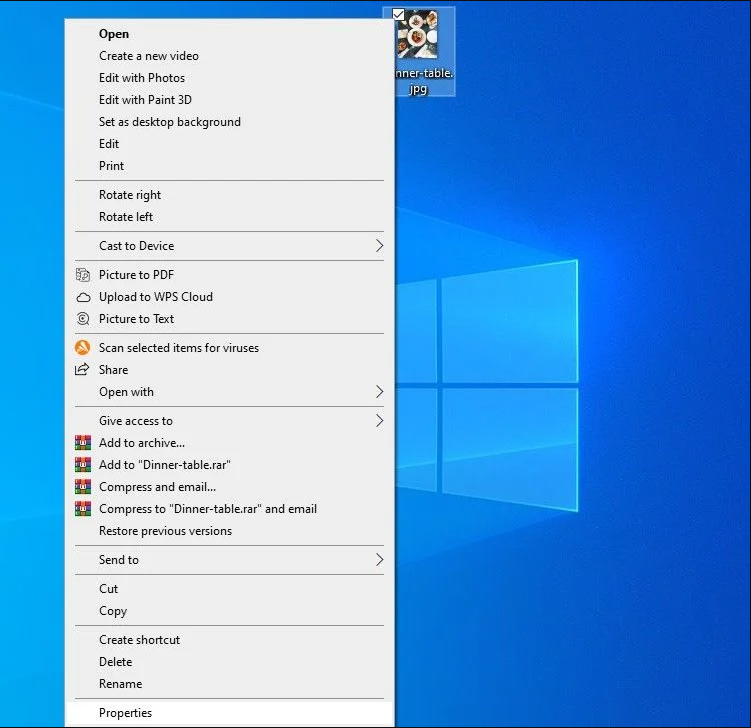
1. Right-click the photo you want to edit.
2. Click on Properties at the bottom of the list.
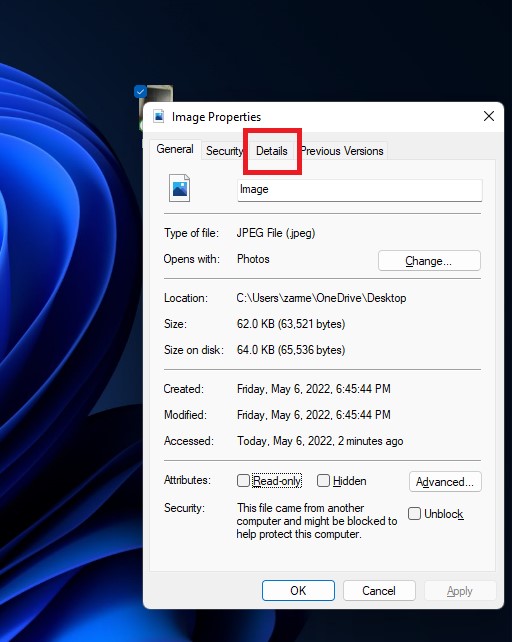
3. Select the Details tap from the Properties window.

4. Click on Remove Properties and Personal Information.
5. In the Remove Properties window, select the option Remove the following properties from this file.
6. Scroll down and check the Latitude and Longitude options under GPS.

You can take this opportunity to remove any other data and personal information from the image file.
7. Click OK.
Remove Location Data From Your Photos Windows 11
When sharing images from your Windows computer, you should ensure that these details are removed. The process is very simple, and you can do it very quickly.
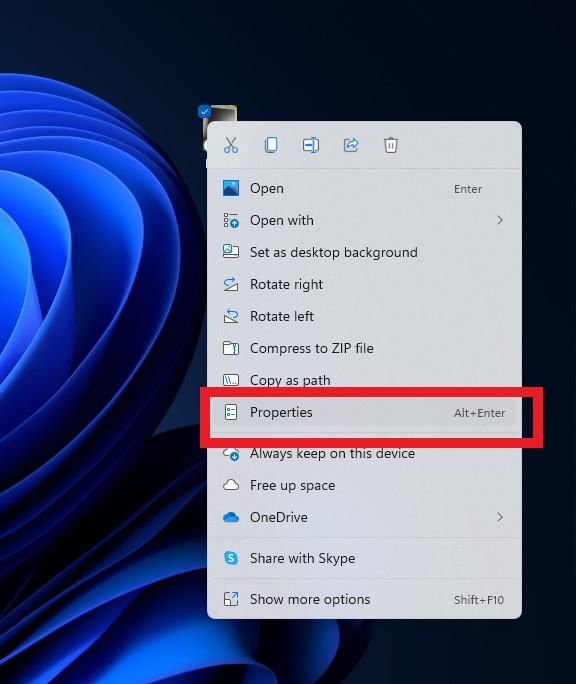
1. Locate the photo you wish to remove the location data for.
2. Right-click on it and select Properties.
3. Select the Details tab.
4. Now click on Remove Properties and Personal Information at the bottom of the window.

5. Another window will open up. Select Remove the following properties from the file.

6. Scroll down to GPS, select Latitude and Longitude, and select OK.
Note: If there is other information you wish to remove, you can select those options from the list and select OK.
How to remove image metadata on Mac
For Mac users, things are a little less straightforward. You do have the option to view EXIF data but the only item you can remove is location data. To remove the remaining data, you’ll need to use a third-party app such as ImageOptim.
To remove location data, open the image in Preview, select Tools > Show Inspector, and click the information (i) tab. If there is no GPS tab here, your image has no location data associated with it. If there is a GPS tab, select it and click Remove Location Info.

Want to remove more than just the location? We’ll show you how to use ImageOptim. But before we start, it’s important to note that as soon as you drag images into the ImageOptim interface, all metadata will be irretrievably scrubbed. As such, if there’s some data you want to hold onto, it’s worth spending some time tweaking your settings before you start, or keep a backup copy of images in case you need the metadata later.
Here’s how to remove the remaining metadata using ImageOptim.
1. Download the ImageOptim app from the tool’s website.
2. Go to Preferences and adjust the app settings as needed.ImageOptim preferences.

3. Drag your images into the ImageOptim window and the app does the rest for you.Scrub complete indication.

How to remove image metadata on iOS
For iOS users, the operating system itself doesn’t come with the built-in ability to edit or remove photo metadata. It is possible to remove EXIF information using the Shortcuts app (which often comes automatically installed on iOS devices), but the setup is a little convoluted. A simpler way to edit or remove photo metadata on iOS is to use a third-party app.
There are quite a few available, the best ones charging a small fee. For the instructions below, we’re using the ViewExif app (priced at $0.99) by Skyjos, a company responsible for several highly-rated file explorer and FTP manager apps. Another option is Exif Metadata. It’s a bit pricier (pay a one-time fee of $3.99 to unlock the full range of features), but it offers additional functionality and has a slightly more intuitive interface.
1. Download and install the ViewExif app from the App Store.
2. Open the app and you will see a prompt to allow ViewExif to access your photos. You can choose to allow it to access all photos or just those you select.
3. If you choose the latter, you will be directed to your photos where you can select the ones you wish to edit.
4. Once you’ve selected your photos or albums, hit Done.
5. Now select the photo you wish to edit.
6. Select the eraser tool and hit Remove Metadata.

7. You’ll see a prompt requesting permission for the app to modify the photo. Select Modify and the metadata will be removed.
The ViewExif app also includes the option to share images directly from the app with or without metadata.
Note: There is a delete option within this app. Using this will completely delete an image from your iCloud storage, not just from the app.
How to remove image metadata on Android
As with iOS, the only way to remove metadata from your images on an Android device is to use an app. One of the most popular for this purpose is Photo Metadata Remover – Clear Exif Metadata (which we’ll use below) but another common choice is Photo Exif Editor – Metadata Editor. Both of these apps let you remove metadata for free.
We like Photo Metadata Remover because it gives you the option to take a metadata-free photo from within the app, eliminating the extra step of editing afterward. It also gives you the option to remove metadata from a whole album of photos at once.
Note that by default, the scrubbed images will be placed in a new file and the original will remain on your device. You can change this in settings such that you don’t keep the originals.
1. Download and install the app on your device.
2. Open the app and you’ll see a few options: Choose Photos, Choose a Folder, or Take a Photo. To remove metadata from a single photo already in your library, select Choose Photos.

3. You’ll be asked to give the app permission to access your photos. Hit Allow.
4. Select the photo you wish to scrub and the app will automatically remove the metadata and let you know when the process is complete.

5. You then have the option to hit Share the Image to send your photo using a different app, or simply select Done.
How to take photos without location data
Of course, life would be simpler if we didn’t have to remove metadata at all. If location data is your primary concern, you’ll be pleased to know that settings in both Android and iOS can be tweaked so that no location information is associated with your images.
How to take photos with no location data in iOS
To prevent your iOS device from adding location information to your images,
1. Go into Settings > Privacy > Location Services.
2. Hit Camera and on the next screen select Never

How to take photos with no location data in Android
It’s similarly simple to change your camera location settings in Android.
1. Go to Settings > Apps > Camera > Permissions.

2. Toggle the Location field to the off (gray) position.
Control what you share
If you want to keep location data for personal use, but delete it before sharing, consider making a copy or backing up your photos before deleting location data.
Alternatively, You can take a screenshot of the photo as that does not transmit location data. Note that this will reduce the resolution of the image, which may not be great for posting on social media, but is suitable if you don't want someone to publicly post an image you've shared with them. .


No comments:
Post a Comment