On Windows 11, files can be shared with other users on the network quite easily using the default system tools.
If you want to share a folder with documents, images, videos, and other types of files, you can accomplish this task in at least two ways. You can share content using the File Sharing feature, or you can use OneDrive to share files over the network or the internet.

While you can still share content with others over the network, if you use Windows 11 with a Microsoft account and you sign in with a PIN, facial recognition, or you use the no need authentication password in your Microsoft account, you may have a lot of problems setting up file sharing. It's best to create a new local account that you can use to set up sharing and avoid problems.
Share files between computers using LAN
Using a crossover ethernet cable is the best way for you to quickly connect between computers. Find the ethernet cable and plug each end into the PC you're trying to connect.
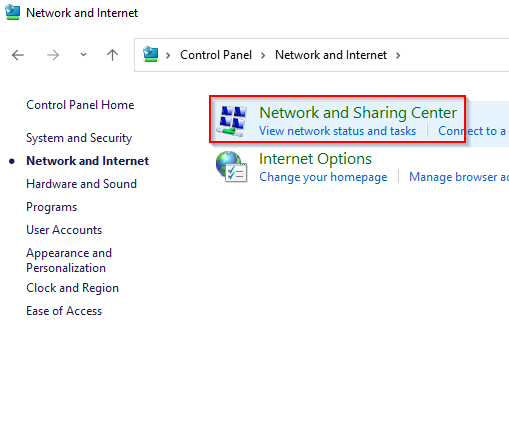
1. First, you need to enable network sharing on both PCs. To do this, search for the control in the Start Menu and select Control Panel. Next, select Network and Internet.

2. Select Network and Sharing Center.
3. Select Change advanced sharing settings from the left panel.

4. Now, expand the settings for the Privacy profile, assuming you only want to share files over your home or work network. Select the radio buttons next to Turn on network discovery and Turn on file and printer sharing. Then select Save Changes.

5. Since you are not connected to the LAN, you also need to configure the IP for each computer. To do this, go back to the Network and Sharing Center and this time select Change adapter settings.
6. Right click on the Ethernet adapter and select Properties.

7. Double-click Internet Protocol Version 4 (TCP/IPv4).

8. Select the radio button next to Use the following IP address Use the following configuration.
For the first computer:
- IP address: 192.168.1.1
- Subnet mask: 255.255.255.0
- Default gateway: 192.168.1.1
- Preferred DNS server: blank
- Alternate DNS server: blank
For the second computer:
- IP address: 192.168.1.2
- Subnet mask: 255.255.255.0
- Default gateway: 192.168.1.1
- Preferred DNS server: blank
- Alternate DNS server: blank
Select OK when done.

9. You're now ready to share files and folders. Go to the folder you want to create access to on the other computer, right-click and select Give access to > Specific people.

10. Select the users you want to share the file with, select Add, and select the Share button.

11. The settings discussed up to this point should be applied to both PCs. Once you're done, launch File Explorer and select Network from the left pane. You'll see another PC here.

12. Double click on the name of your PC and you should see the folder you shared there.

Copy and paste your data into your new computer.
That’s it! It is needless to say again that data transfer within two computers will be through local networking if you have an active internet connection.
How to connect two computers together using USB
To transfer files between computers using USB, you will need a USB-to-USB bridge cable. The point is, depending on the type of cable you have, the specifics of the process can be slightly different. However, the general steps in the process remain the same.
The first thing you need to do is install the software that came with the USB-to-USB cable. If the package doesn't come with any installation media, the USB cable will likely have a built-in utility that allows file transfers. If not, you will need to download the driver from the manufacturer's website.
1. Connect one end of the USB cable to each computer.
2. Most USB bridging cables have two LEDs placed somewhere on the cable. Once your computer has successfully connected, you will notice LEDs that indicate it. For example, here's what a pluggable USB bridge cable looks like:

3. Once done, you'll need to use the USB cable manufacturer's utility to transfer files. This is where the process varies between manufacturers, but it's usually simple.


No comments:
Post a Comment